step by step
1
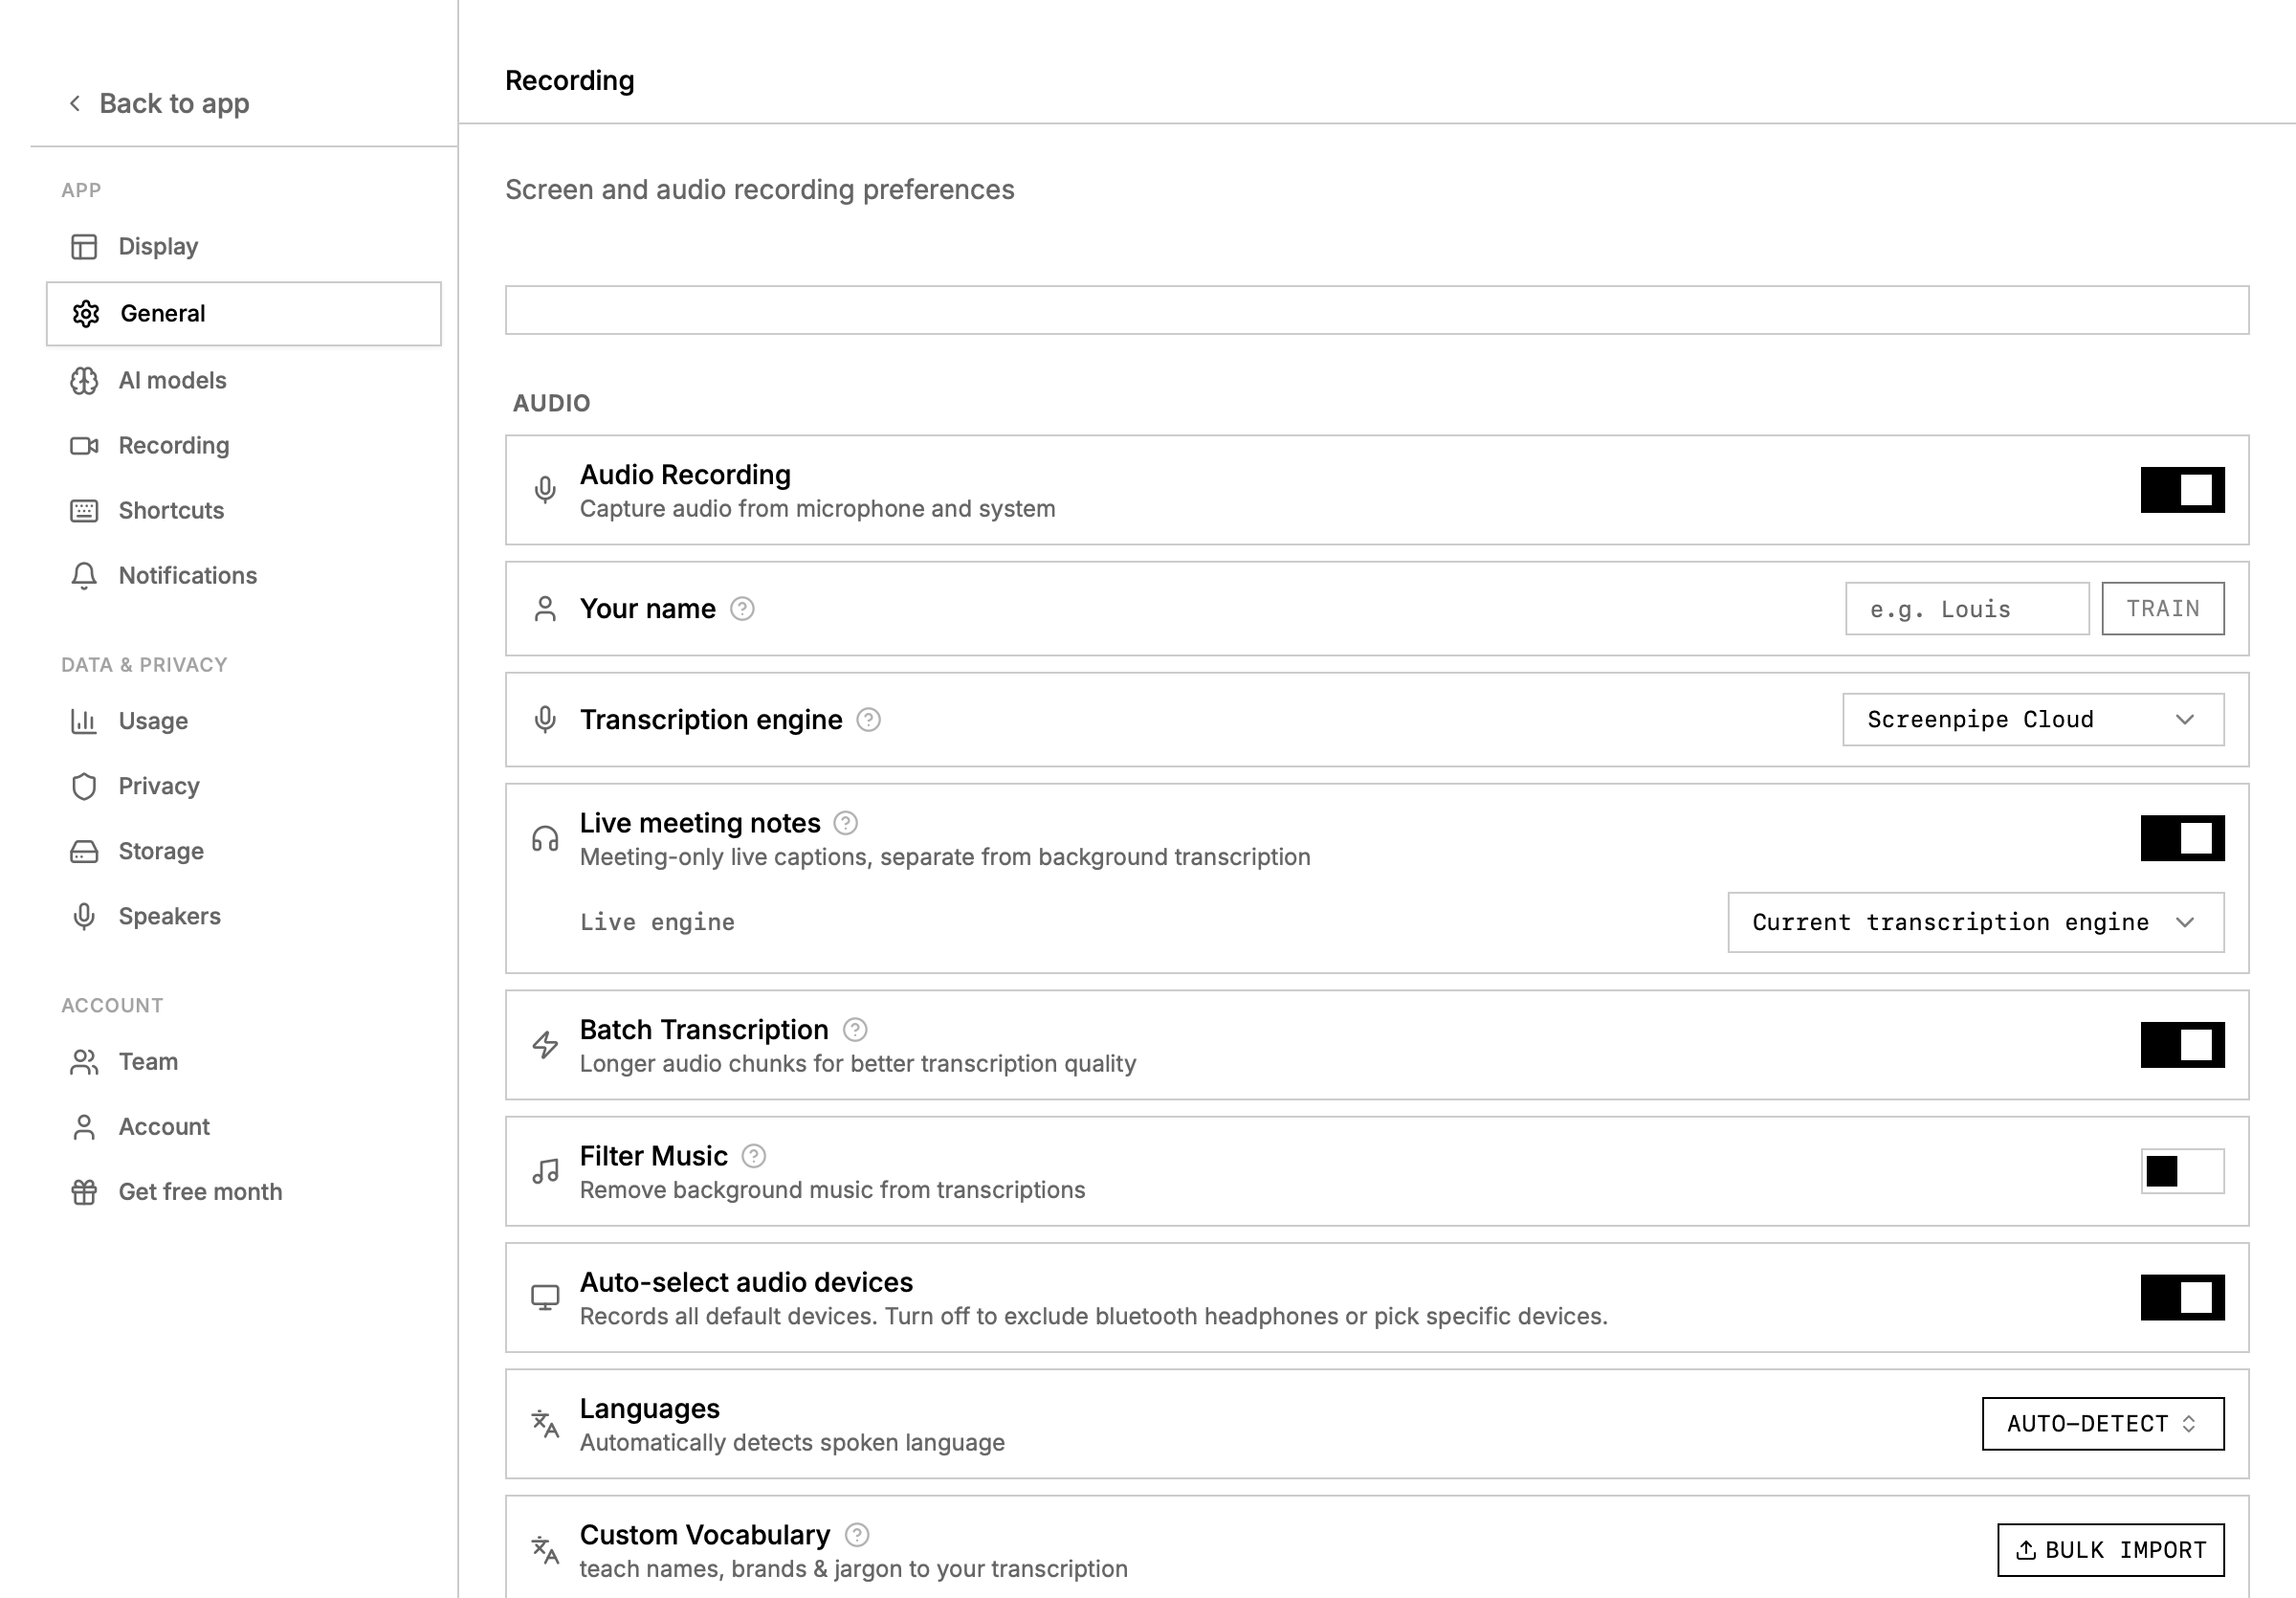
configure audio
Open Settings → Recording. select the needed microphone and system-audio devices, then record a short test. obtain consent where required and follow the meeting’s recording policy.
2
confirm the meeting exists
After the call, open the meeting or timeline. check its start and end, transcript coverage, and whether screen context belongs to this meeting.
3
fix important transcript errors
Correct names and merge or label speakers where useful. do not “repair” missing audio by inventing what someone probably said.
4
generate the structured notes
Ask for purpose, decisions, unresolved questions, objections, action items, owners, dates, and supporting transcript moments.
5
compare with the transcript
Verify every commitment, owner, number, and deadline. mark unclear items for confirmation.
6
draft the follow-up
Create a concise email or message from the verified notes. review tone, recipients, attachments, and promises before sending.
7
update other systems separately
Only after review, copy the approved result into a CRM, ticket, project tracker, or shared notes system.
notes prompt
follow-up prompt
for deeper speaker, transcript, and calendar setup, see meeting intelligence and meeting transcription.