a good first pilot
step by step
1
agree on the report before recording
Define the project, working hours, excluded apps, retention period, and whether the client should receive narrative detail or only totals. do not capture a client’s device or employees without their authorization and a clear policy.
2
set privacy filters
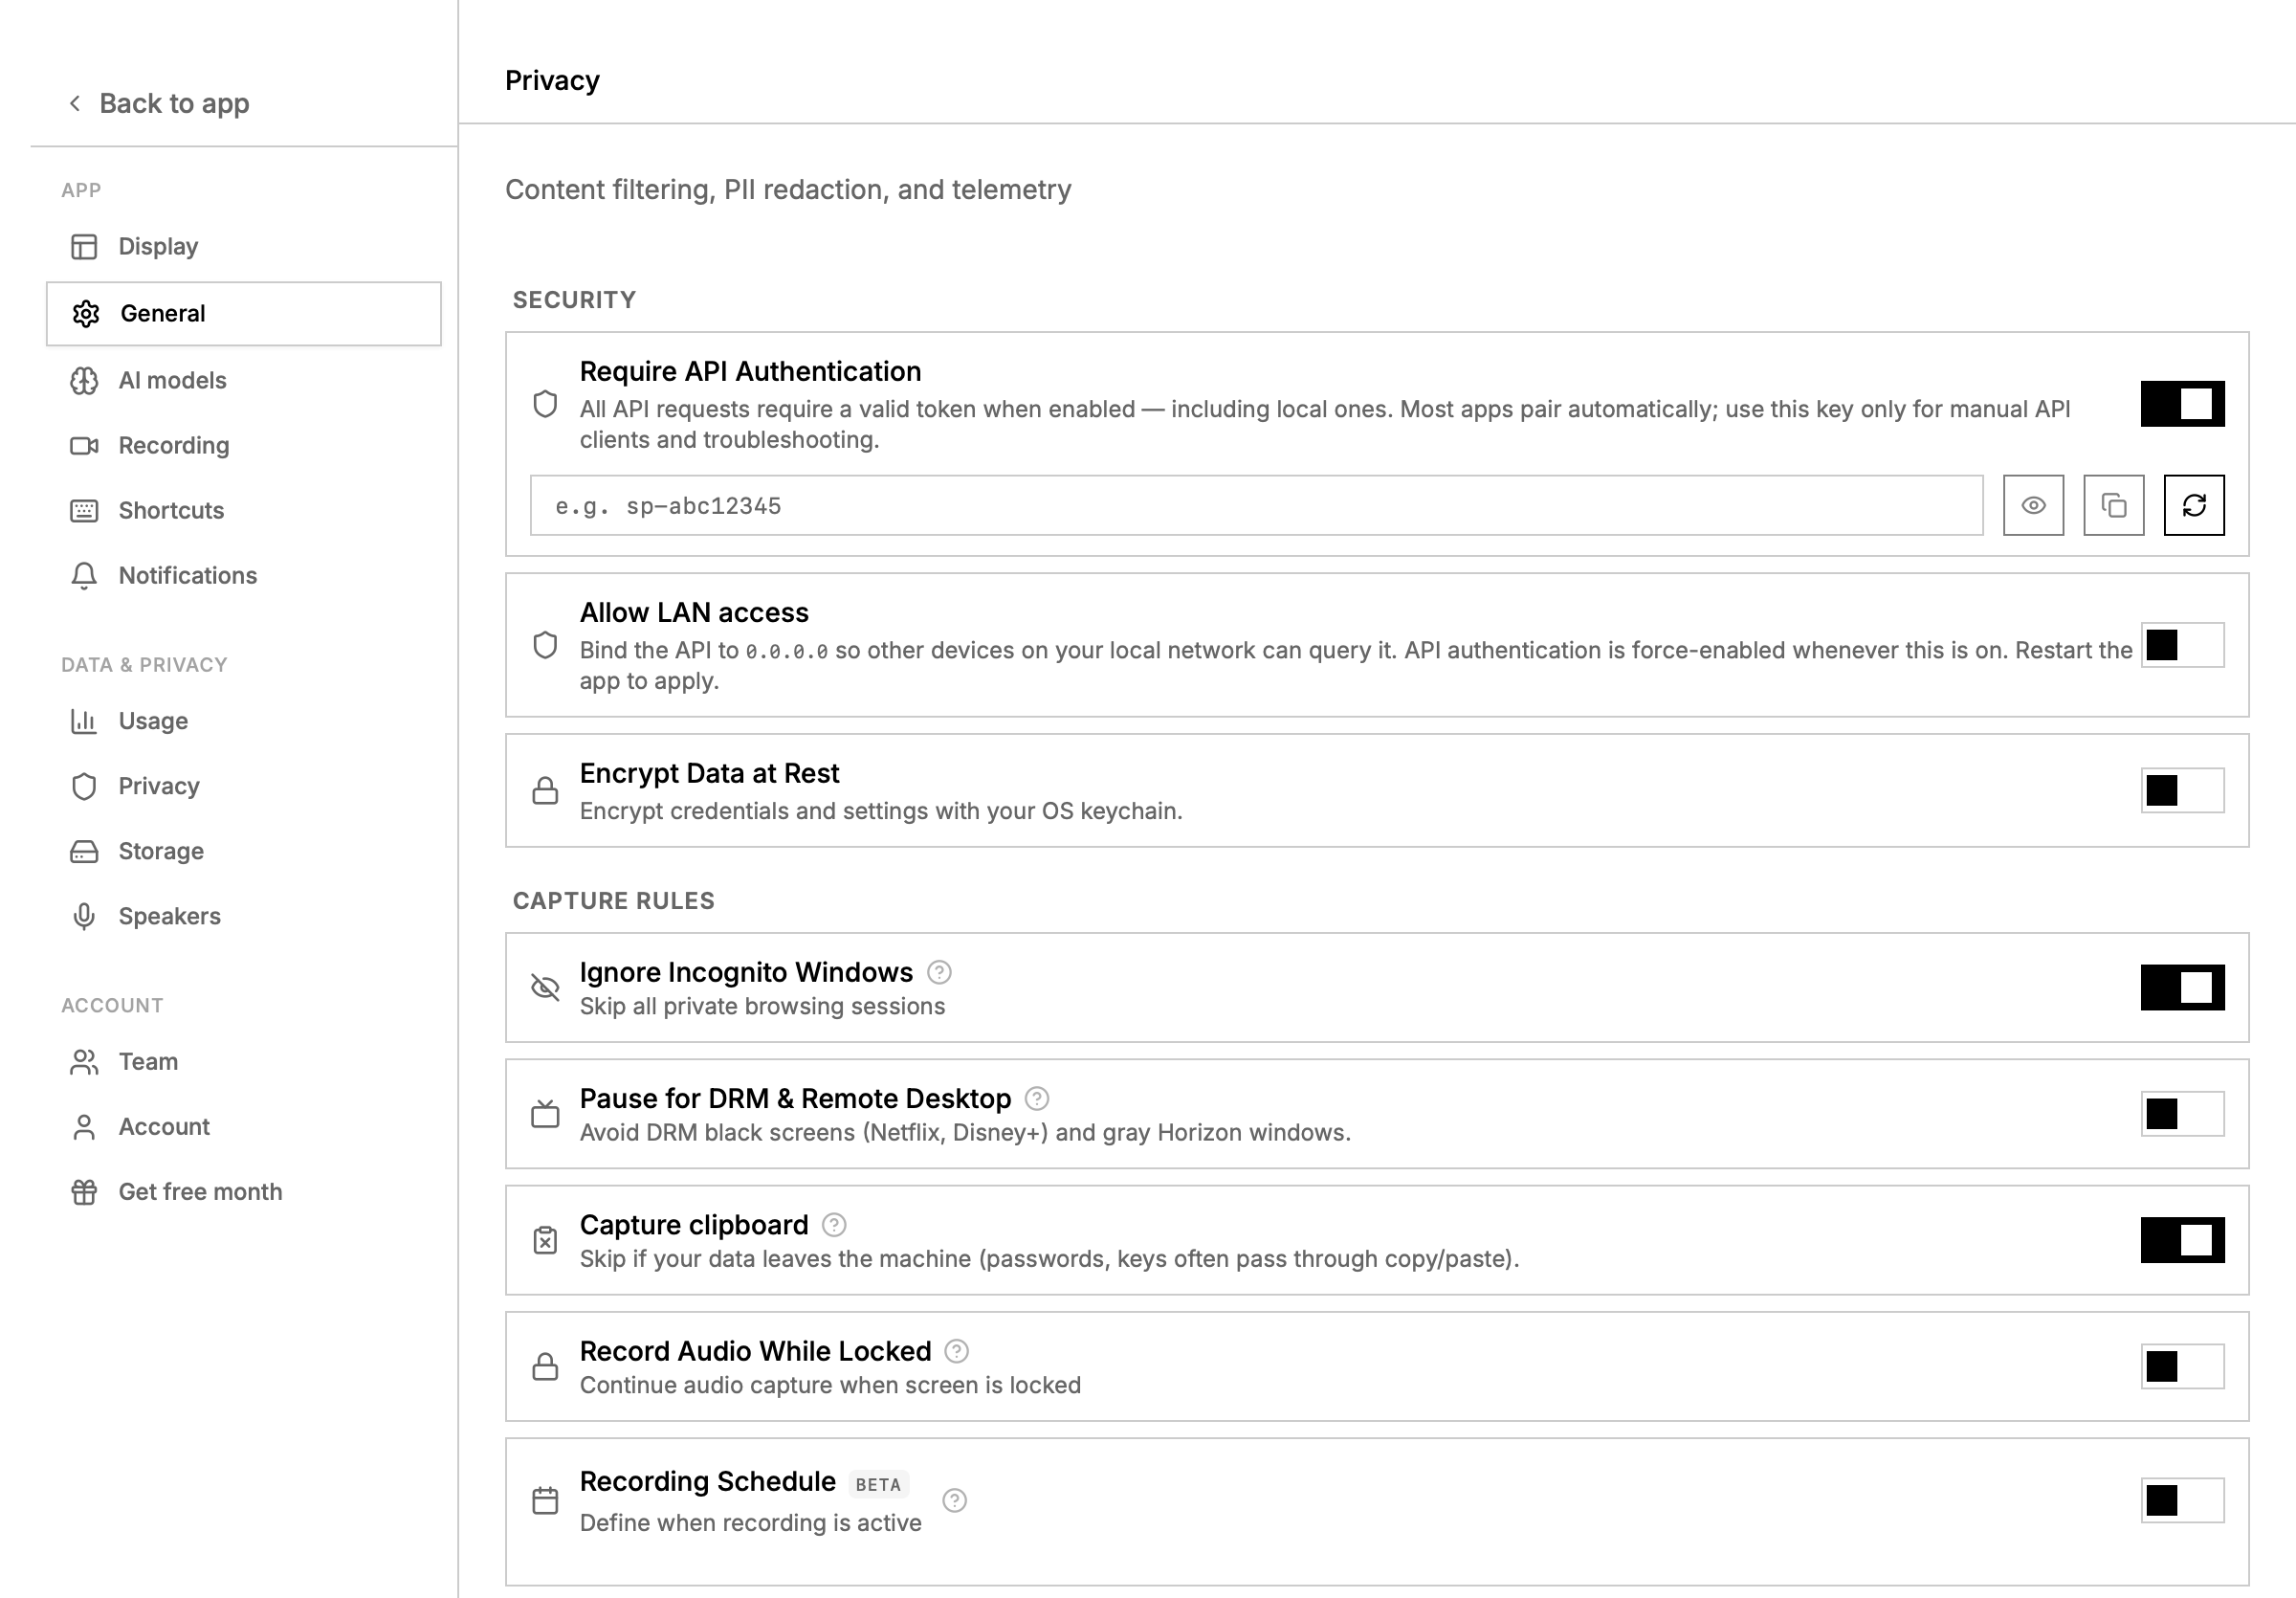
Open Settings → Privacy. exclude password managers, personal messaging, banking, health, unrelated clients, and any confidential surface that is not needed for the report.
3
test one work block
Record 15–30 minutes of representative work. confirm the timeline contains the expected apps and that audio is captured only when needed.
4
get active time
Use
/activity-summary for numeric totals. let the model classify the resulting blocks by client or project, but never let it manufacture time from the number of frames or search results.5
add supporting context
Search the same time range for project terms, document titles, meetings, and deliverables. keep ambiguous blocks in an “unassigned” section instead of forcing a label.
6
review and correct
Check totals against your calendar and known breaks. remove unrelated detail, correct project labels, and mark estimates clearly.
7
share the smallest useful report
Export the reviewed result to your normal timesheet or attach it to an invoice. automate this handoff only after several accurate manual reports.
API example
4h ago and now are convenient for a first test. use ISO 8601 UTC timestamps when the report must match an exact calendar or billing window, and replace the project code with your own value.
build it without code
1
open the pipe builder
Go to Pipes → My Pipes and scroll to create your own pipe.
2
describe the first version
Paste: “Create a manual pipe that writes a local client work report. use
/activity-summary for numeric totals, bounded /search results for context, put ambiguous time in needs review, and never send or invoice automatically.”3
let screenpipe build it
The app opens Home, asks the agent to create the pipe, and installs the result. when it finishes, return to Pipes → My Pipes.
4
run and inspect
Open the new pipe, run it once, and inspect its Markdown artifact and execution log. confirm that an empty window produces an explicit no-data report.
5
add a schedule later
Keep the first version manual. add a daily or weekly schedule only after several reports have correct totals and project labels.
the generated automation is a
pipe.md file under ~/.screenpipe/pipes/. advanced users can inspect and version that file; the pipes guide explains its schedule, permissions, and artifacts.